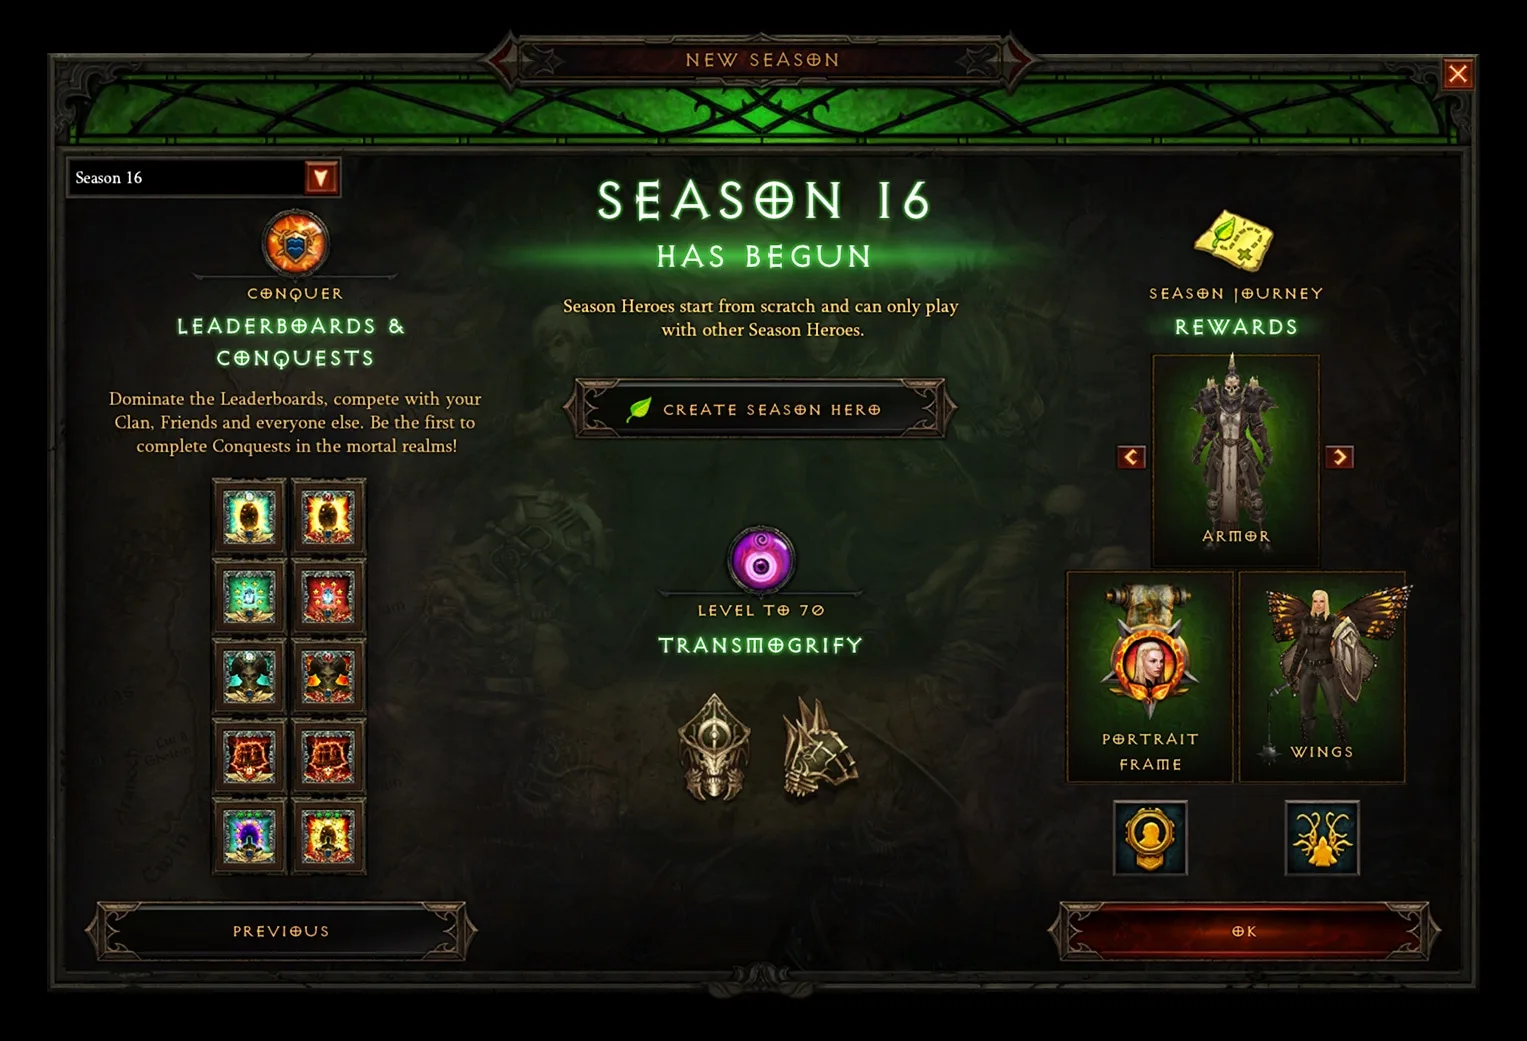
A new Season is by far the best time to (re)start Diablo 3. Everyone begins from scratch, the seasonal leaderboards are fresh, and via the Season Journey the game hands you a complete, free 6-piece class set. This guide is your gap-free roadmap: from creating the seasonal hero, to power-leveling to 70, all the way to your first Greater Rift — including every reagent, source and the optimal order of operations.
What a Season Is and Why It's Worth It
A Season is a time-limited, walled-off account space. Seasonal heroes share inventory, stash, gold, Paragon and unlocked Cube recipes only among themselves — separate from your non-seasonal account. When the Season ends, everything rolls over (items, gold, Paragon, materials) automatically into your non-seasonal stash.
The benefits at a glance
- Fresh competition: seasonal leaderboards reset everyone — a fair playing field.
- A free set: via Haedrig's Gift you're handed a full class set (otherwise only obtainable through drops/gambling).
- Exclusive rewards: the Season Journey grants limited portrait frames, pets, wings and often parts of the Conqueror set (transmog).
- Season theme: every Season adds its own gimmick (e.g. the shadow clones in Season 39 or the Angelic Crucibles in Season 40) that further raises the power level.
Creating a Seasonal Hero
On the main menu, open character creation and tick the Seasonal Hero box. Your character lands in the seasonal pool: empty inventory, empty stash, fresh Cube powers.
- Pick a class whose Haedrig set is strong for that Season's start (check the Season's patch notes). The sets Haedrig hands out change from Season to Season. In Season 40 they are: Barbarian — Horde of the Ninety Savages, Crusader — Aegis of Valor, Demon Hunter — Gears of Dreadlands, Monk — Patterns of Justice, Witch Doctor — Mundunugu's Regalia, Wizard — The Typhon's Veil, Necromancer — Masquerade of the Burning Carnival.
- Choose a mode: Softcore (default) or Hardcore (permanent death). Newcomers should stick with Softcore.
- In-game, select Adventure Mode — not Campaign.
Unlocking Adventure Mode
Since patch 2.7.4, Adventure Mode is unlocked for all accounts by default — you no longer need to complete the campaign.
Reaching Level 70 Fast
The first goal: reach level 70 as quickly as possible, because only then does the real endgame open up (Greater Rifts, Legendary Gems, the full loot pool).
- Adventure Mode + public game: join a public game for "Bounties" or "Rifts". Crowds of enemies = crowds of XP. Being power-leveled by a strong player is by far the fastest.
- Massacre streaks: long kill chains outside of rifts multiply the experience at the end of the streak — Nephalem Rifts have no Massacre bonus. An Altar of Rites seal doubles the duration and bonus of streaks.
- Cursed chests and bounties: both are faster than rifts. Nephalem Rifts are the most comfortable but slowest method.
- Gem of Ease — for your second hero: at rank 25 it sets the weapon's level requirement to 1 and grants a lot of experience per kill. It only drops from Greater Rift Guardians, though, so it arrives at level 70 — no help for your first seasonal hero, a huge one for every character after that.
All methods with typical times are in the Leveling Guide.
Season Journey: Chapters 1-4 & Haedrig's Gift
The Season Journey is an in-game tab with a checklist of objectives, split into chapters. It's account-wide (seasonal) and acts as a progression guide. For newcomers, the first four chapters are the core — they deliver the free set.
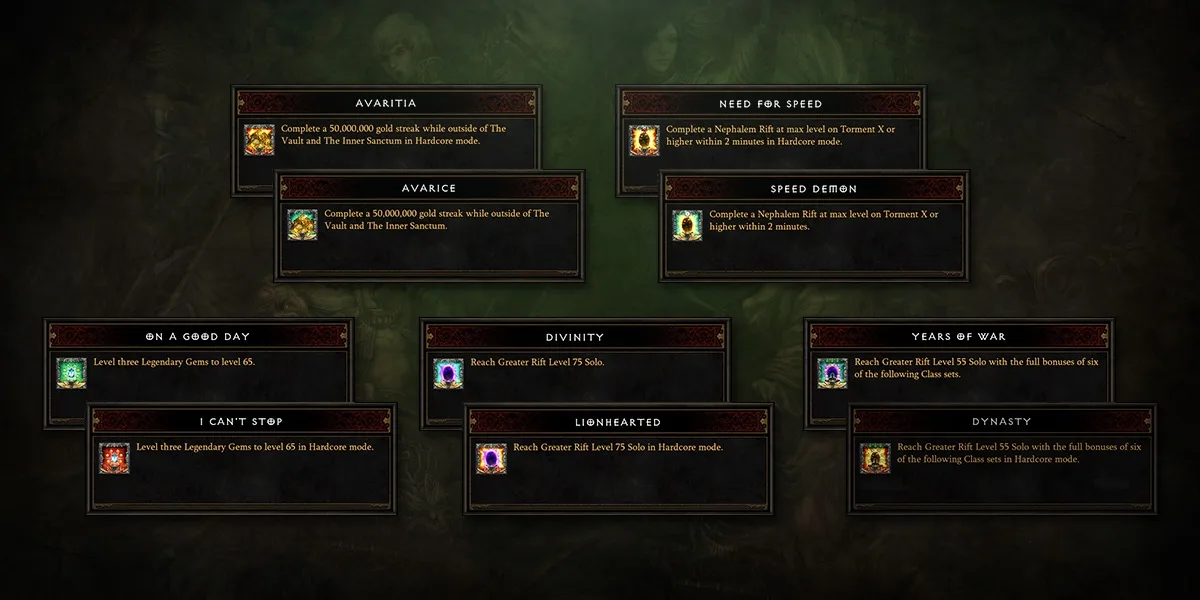
The first four chapters
- Chapter 1 — Warm-up: reach level 50, kill two bosses, complete bounties and a Nephalem Rift, simple tasks. Reward: none.
- Chapter 2: delivers the first Haedrig's Gift (2 set pieces).
- Chapter 3: delivers the second gift (2 more set pieces).
- Chapter 4: delivers the third gift, giving you the full 6-piece set.
Complete chapters 2 → 3 → 4. Each one sends a gift from Haedrig Eamon (the blacksmith) to your mailbox — all three together make the full set.
Typical Chapter 2-4 tasks
- Chapter 2: reach level 70, clear a Nephalem Rift on Expert, find Kanai's Cube, craft a level-70 item at both the Blacksmith and the Jeweler.
- Chapter 3: a Nephalem Rift on Master, bosses on Master, the bounty caches of all five acts.
- Chapter 4: a Nephalem Rift on Torment I, the Keywardens and bosses on Torment IV, a Greater Rift 20 solo.
Most of these happen naturally while you farm — targeted ticking-off is rarely needed.
Unlocking Kanai's Cube
Kanai's Cube is one of the biggest power spikes in the game. It lets you extract Legendary Powers and use them passively in three slots (Weapon / Armor / Jewelry) — effectively three extra legendary effects with no item slot cost.
- In Adventure Mode, open the map and travel to Act III → Ruins of Sescheron.
- Make your way through the Elder Sanctum to the dead end at the north-eastern edge of the map and take the Cube from its pedestal.
- The Cube is then permanently available in every town.
Key early Cube recipes:
- "Hope of Cain": upgrades a level-70 rare item with 25 Death's Breath plus 50 each of Reusable Parts, Arcane Dust and Veiled Crystal into a random legendary of the same type (e.g. a weapon). Great for filling specific slots.
- Extract Legendary Power: breaks a legendary into a permanent Cube power (costs Death's Breath + materials).
- Slot conversion / set reforge: helps you target missing set pieces.
The Early Gear Loop: Death's Breath, Blood Shards & Kadala
At level 70 the real gearing begins. The loop you run over and over:
- Farm Death's Breath: Elite enemies in Nephalem Rifts drop Death's Breath. You need them for Cube recipes and upgrading rares.
- Collect Blood Shards: Rift Guardians and bounty caches give Blood Shards. You can carry at most 500 + 10 per level of your highest solo Greater Rift clear — group clears don't count.
- Gamble at Kadala: spend Blood Shards at Kadala (in every town) on slot-specific items. Target the slot where you're missing a particular legendary/set piece — it saves enormous time. Keep the Altar of Rites in mind, though: some seals demand 1,100 to 1,600 Blood Shards. More in the Farming Guide.
- Use Cube recipes: "Hope of Cain" for weapons, slot conversion for targeted drops.
Altar of Rites
Since Season 30 the Altar of Rites is part of every Season — a permanent power board of unlockable nodes that apply season-wide.
- The Altar stands in New Tristram (Act I) and can be used from level 1.
- Seals are unlocked with materials, Blood Shards and specific items — e.g. a rank-125 Whisper of Atonement or an augmented weapon. No follower is sacrificed.
- Seals grant e.g. movement speed, damage/defensive buffs and comfort like "items have no level requirement" — there is no cheat-death revive.
Progression Path: Normal → Torment → Greater Rifts
The clean climb through difficulty tiers:
- Level on Master to Torment VI — Torment I–VI are available from the start. Pick the tier where enemies die within seconds.
- Torment VII–XVI unlock once a hero reaches level 70. With your set and Cube powers you work your way up to Torment XVI — raise the tier whenever enemies die too fast.
- Greater Rifts (GR): from GR 20-40 to level up Legendary Gems at Urshi (the NPC after a successful GR clear).
- GR pushing: highest possible tier for the leaderboard and for Augmenting (consuming high-rank Legendary Gems in Kanai's Cube to add main stat to Ancient/Primal items).
Common Mistakes
- Forgetting the Seasonal Hero box — then there's no set. Always verify.
- Opening Haedrig's Gifts on the wrong hero — the set matches the class of the hero who opens the gift.
- Difficulty too high while leveling → monsters live too long, XP/hour collapses.
- Gambling Blood Shards blindly — always gamble on the slot you want, not at random.
- Delaying the Cube quest — without Cube powers you're missing a huge chunk of power. Do it in the first few hours.
- Leveling Legendary Gems too late — three good gems (e.g. Bane of the Trapped, Bane of the Powerful, Zei's Stone of Vengeance) are mandatory.
Day-1 Checklist
- Create a Seasonal Hero in Adventure Mode (right class for the starter set).
- Level to 70 (Massacre streaks, cursed chests, bounties or power leveling in a group).
- Complete the Kanai's Cube quest in Act III (Sescheron).
- Tick off Chapter 1 of the Season Journey.
- Do Chapters 2 → 3 → 4 in order: all three Haedrig's Gifts = full set.
- Farm Death's Breath + Blood Shards, gamble at Kadala, use Cube recipes.
- Start the Altar of Rites (unlock the first nodes).
- Level Legendary Gems at Urshi, raise Torment, run your first Greater Rifts.
After just a few hours you'll be standing in the endgame with a full set, three Cube powers, Altar buffs and your first Legendary Gems — ready to push Greater Rifts and start augmenting.
 Login with Battle.net